1. Getting Started
This chapter covers everything that happens before you open a course: getting an account, signing in, switching into Instructor mode, and understanding which role you hold in each course.
1.1 Creating an account
Open BodhiTree and click Register on the login page.
Fill in first name, last name, email address, and Roll No.
Choose a password. It must be:
at least 8 characters
contain at least one capital letter
contain at least one special character
Re-type the password in the confirm field; the two must match.
Review the confirmation step showing the details you entered, then submit.
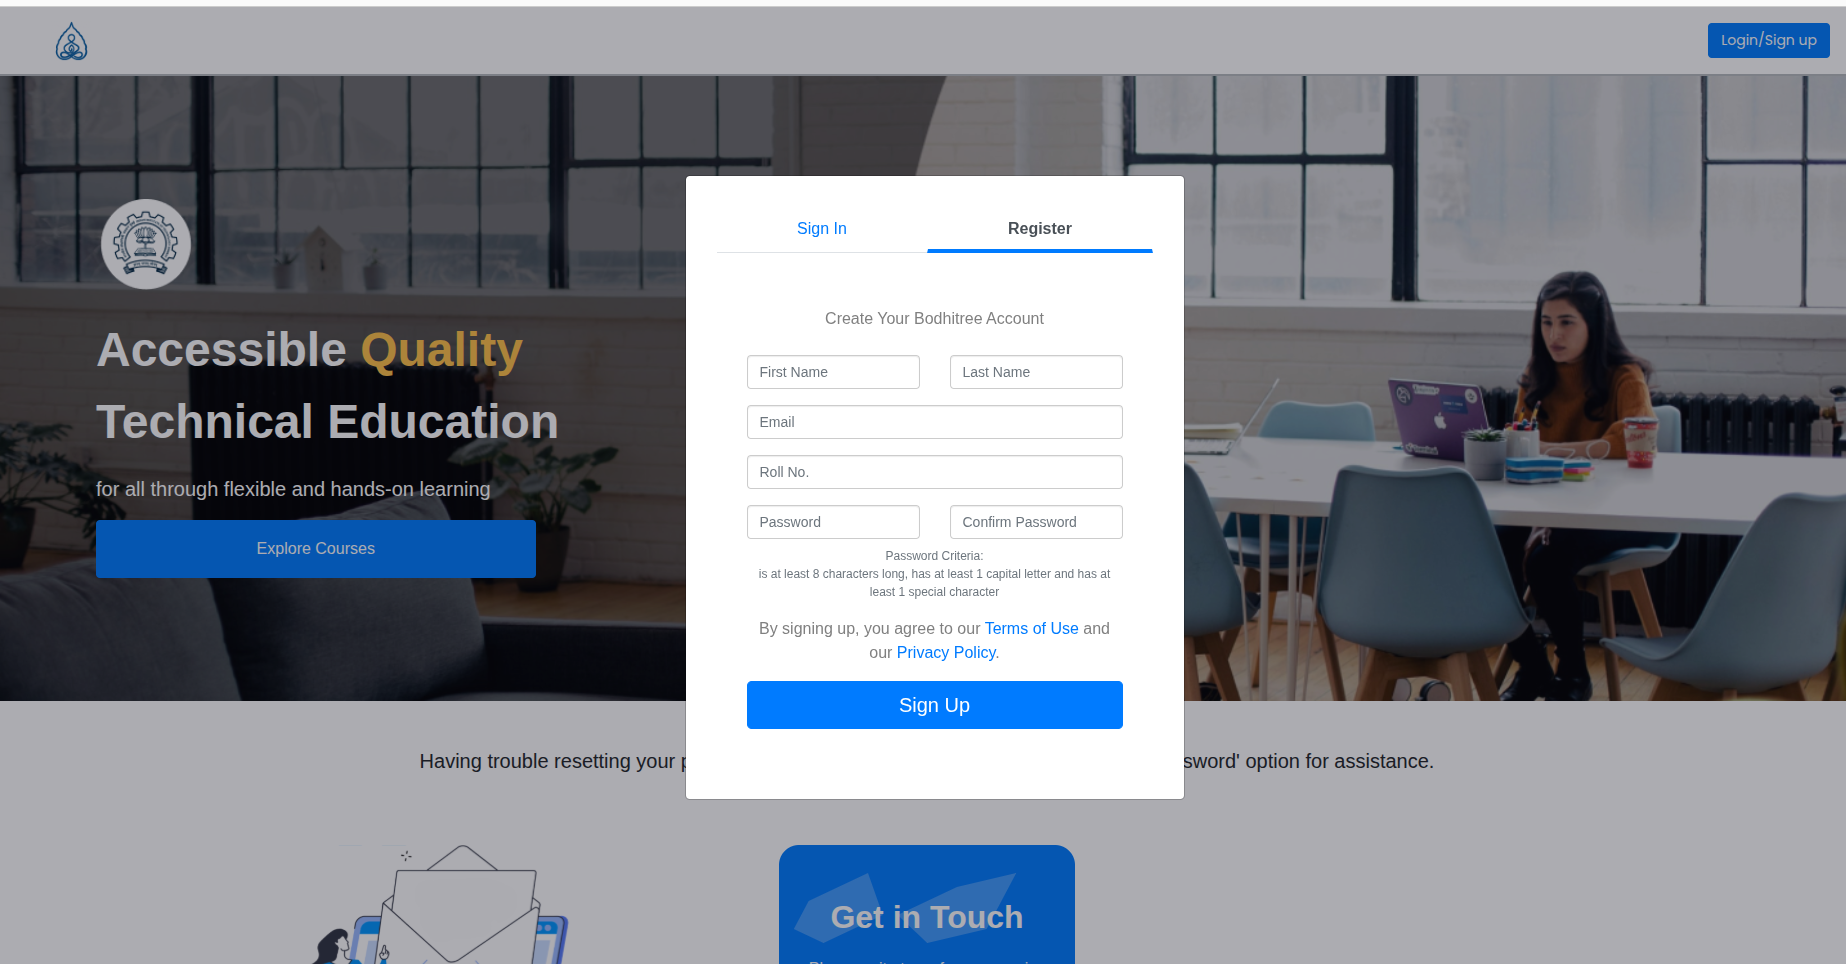
After submitting you will see:
Successfully registered. You will receive an ACTIVATION email at your@email. Note that this could take a FEW HOURS depending on server load.
Your account is inactive until you click the activation link in that email. Attempting to sign in before activating gives “Please activate your account first”.
Note for administrators: if the platform’s email service is not configured, registration fails with “Email service is not configured. Please contact administrator.” No account is created.
1.2 Signing in
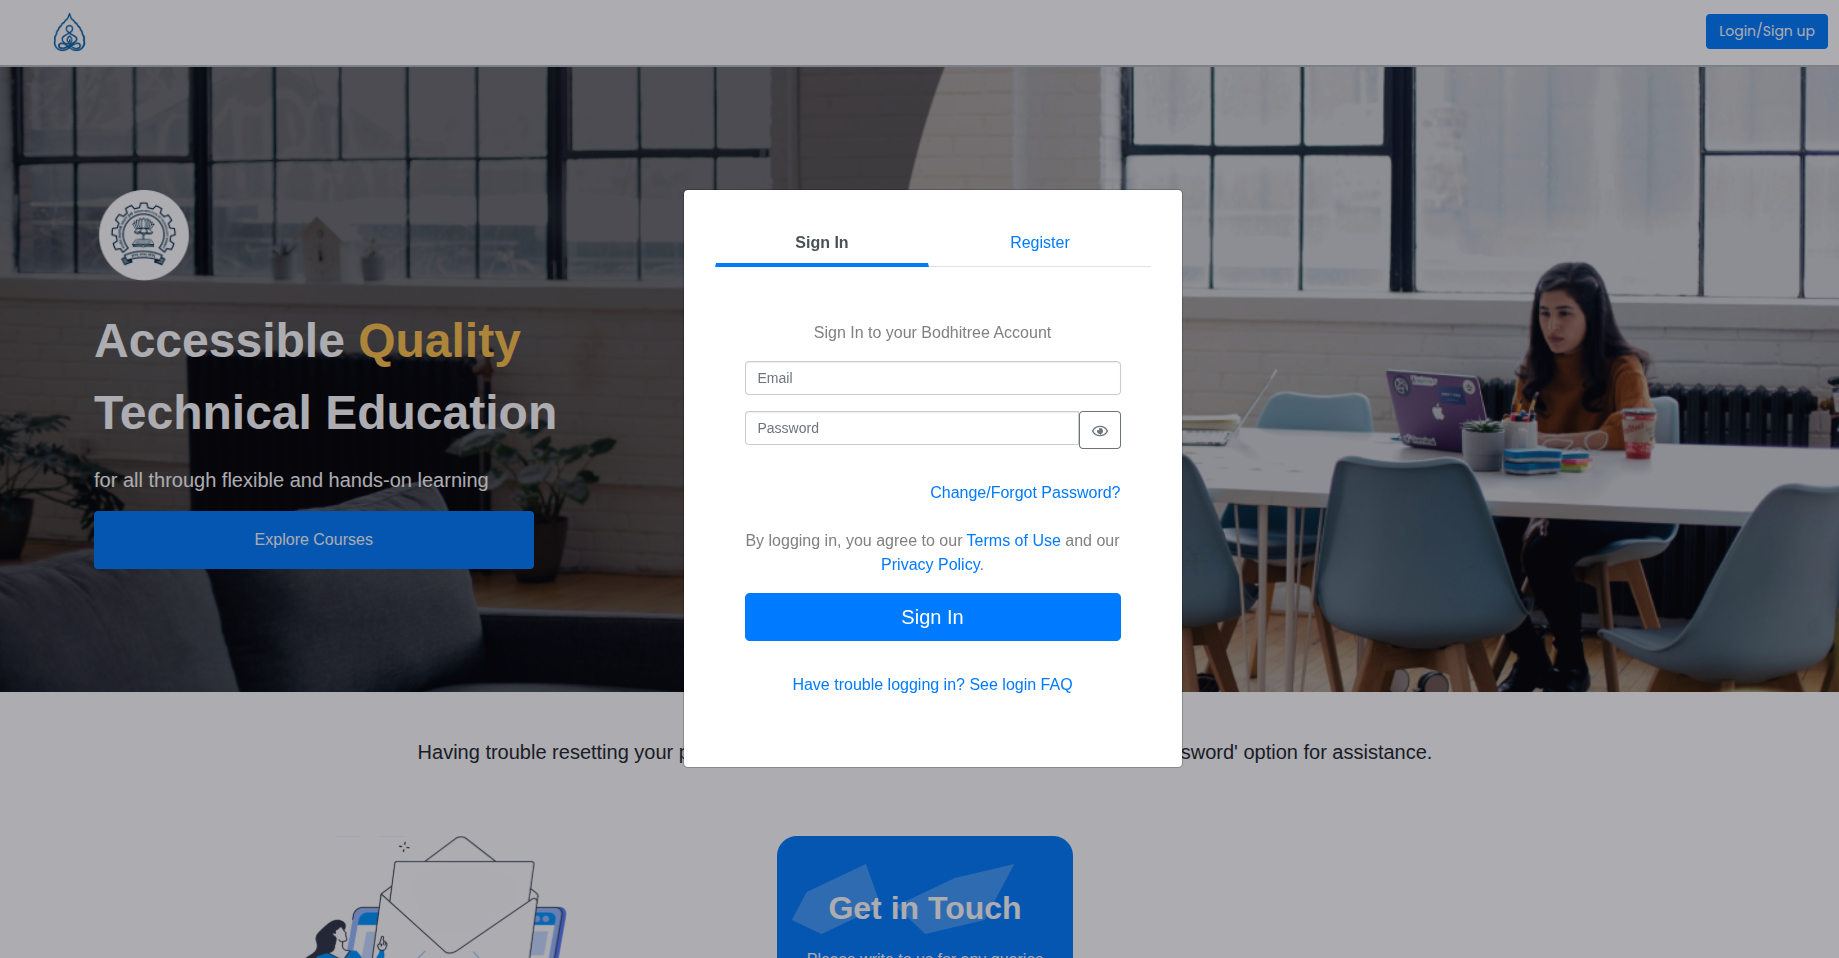
Enter your email address as the username, and your password.
Use the eye icon to reveal the password if you need to check it.
Click Login.
After a successful login BodhiTree takes you to your Courses List. If you have an active enrollment, it may deep-link you straight into that course.
Forgot your password? Click Change/Forgot Password? on the login page. Enter either your username or your email. You will see:
You will receive an email; note that this could take a FEW HOURS depending on server load.
If more than one account matches the details you entered, the message is prefixed with “N accounts are associated with this details.”
Two devices at a time
BodhiTree allows 2 concurrent sessions per user. Signing in on a third device signs you out of the session you started longest ago; your other recent session stays active. It happens without warning, so plan around it before an exam invigilation session where you might be signed in on both a laptop and a phone.
Your sign-in stays valid for 1 week, and is refreshed automatically while you keep using the platform.
If your session becomes invalid you will see “Session Expired. Logging out…” and be returned to the login page.
1.3 Instructor mode vs Student mode
Instructor features are only visible when your account has the platform-level instructor privilege and you have switched into Instructor mode.
Find the dropdown labelled Mode: in the top navigation bar. It shows your current mode, Student or Instructor.
Open it and select Instructor.
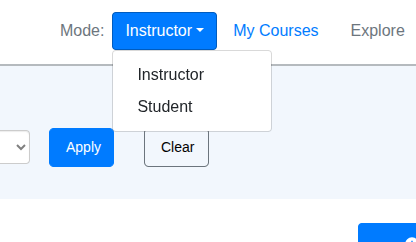
If you do not see a Mode dropdown at all, your account does not have the instructor privilege. Contact a platform administrator; this is not something you can grant yourself.
Your mode is remembered for the session, and your account has a default mode that is applied each time you sign in.
1.4 Your role in a course
Every enrollment is one row linking you to one course, carrying a role and a status. Your current role is shown as a coloured badge in the navigation bar while you are inside a course.
Badge |
Role |
Who gets it |
|---|---|---|
🔴 Red |
INSTRUCTOR |
The person who created the course and owns it |
🔵 Blue |
STA (Senior TA) |
Given ownership of a course they did not create |
🟡 Yellow |
JTA (Junior TA) |
Explicitly assigned as a Junior TA |
🟢 Green |
STUDENT |
Everyone else |
Important: INSTRUCTOR and STA are not chosen from a dropdown; they are derived from ownership. Granting someone ownership of a course you created makes them an STA. Only JTA is assigned explicitly, and it is never overwritten by the system.
What each role can do
INSTRUCTOR and STA have identical permissions. There is no capability anywhere in the activity/grading system that an instructor has and a Senior TA does not. Both can:
Create, edit, and delete labs, programming activities, and testcases
See hidden activities and hidden testcases
View execution settings, solution data, and output-comparison settings
Start and end exams, approve late starts, and proctor
Submit on a student’s behalf
Change resource limits (time, memory) for code execution
Bypass all time windows and visibility flags
JTA is a grading-only role. A Junior TA can:
View both visible and hidden testcases
Read all submissions for an activity
Edit manual marks
Add and delete their own comments on a submission, and view comment history
Export a lab or a programming activity
View resource limits (time, memory), but not change them
A JTA cannot create or edit activities, quizzes, or testcases, cannot add, edit, delete, publish, or clone multimedia book content, cannot see hidden activities, solution data, or execution settings, cannot submit on behalf of a student, cannot open the gradebook, cannot moderate the discussion forum, and cannot run or proctor an exam.
Restricted controls are not hidden from a JTA’s screen — they are drawn and fail when clicked. See §3.8 for the full breakdown.
⚠️ One exception to “instructor can do anything”: if a course has content protection enabled (the default), only the original creator of the course may delete content, not an STA, and not a co-owner.
Enrollment status
Status |
Meaning |
|---|---|
Active |
Fully enrolled, can access the course |
Pending |
Requested enrollment in a moderated course, waiting for your approval |
Unenrolled |
Removed from, or never joined, the course |
1.5 Your profile
Reach your profile from the dropdown at the top right, the one labelled with your email address, and choose Profile. The page has two tabs: Basic Details and Change Password.
Basic Details holds two groups of fields:
Basic Details: First Name, Last Name, Email Address, Gender, Roll No., State, City
College Details: College Name, College Branch, College Year of Study, College Program, and Web URL
College Name, Branch, Year of Study and Program are all required, so a partly filled profile will not save until they are set. One Save button at the bottom saves both groups.
Your username is your email address and cannot be changed here. Roll No. is shown greyed out; it is set at registration and is not editable afterwards. The picture beside the tabs is a fixed illustration, not something you can upload.
To change your password while signed in, use the Change Password tab rather than the forgot-password flow.
1.6 Signing out
Logout, in the same dropdown as Profile, ends the session on the device you are using. Your session on your other device stays active.
There is no “log out everywhere” button. If you need to end every session, change your password: doing so signs you out everywhere except the device you changed it on.